 When I first started homebrewing, I didn't really worry about labels. I only tended to do one batch of beer at a time, and only got about 8 one-liter bottles per 2.5-gallon batch. That meant labeling the bottles was kind of pointless. That changed in the past year.
Last year, I brewed a Belgian Strong Dark Ale, a German Apfelwein, a Belgian Quadrupel, a Belgian Tripel, and at least one other. Earlier this year, I brewed a couple of other beers, and I have things purchased to do at least two more. With all of these batches floating around, I needed some kind of labeling method to identify them all.
At first, I went with a Sharpie permanent marker. I'd just write something on the bottle cap to tell me what was inside and called it "good enough". Then, when friends and co-workers started wanting me to bring them bottles of my beer, some wanted labels on them so they could recognize them in the refrigerator.
I hit the online forums and found lots of good suggestions on labeling the beer you make. Those included:
- GrogTag's custom bottle caps, which can be imprinted with any image or text, and sell for about $20 per 100 caps. (They also do labels.)
- Beer Clings reusable labels.
- GarageMonk's writable, reusable, dishwasher-safe labels.
- Evermine's beer labels
- Post-it notes or something similar, taped to the bottle.
- Use small round Avery labels and stick them to the bottle cap
- Print labels on your inkjet or laser printer and apply them with a thin layer of milk
None of these quite suited me. What I wanted was something that met the following criteria:
- Stays on the bottle while it's in a refrigerator or cooler
- Won't run if it gets a little damp, or fall off
- Is removable so I can re-use the bottle
- Is inexpensive so I don't spend a lot labeling my beer
- Looks pretty good and can be made to look semi-professional
- Can be applied easily to the bottle
What I wound up doing was this:
- Download and install the open source Inkscape software.
- Create a "box" the size I want my label to be.
- Create a label that fits in the box I created.
- Copy and paste the label to fill a page of printer paper.
- Have Inkscape export the image to a PDF file in full color.
- Take the PDF file to Kinko's or another shop with a color laser printer.
- Print the labels and cut them out with scissors or a paper cutter.
- Use a common children's glue stick to apply glue to the back of the label.
- Stick the label to the bottle.
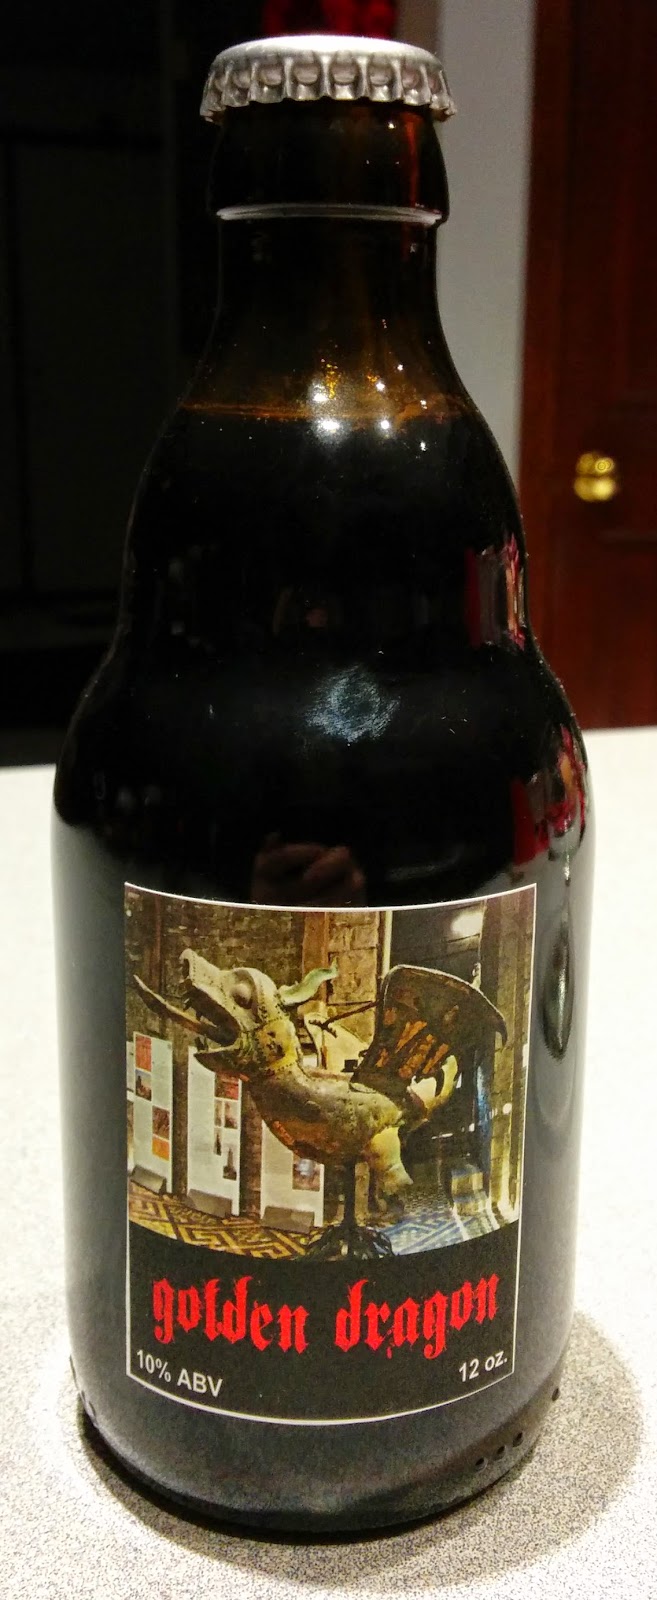
Using a laser printer gave me labels that would not run if they got wet. Depending on the size of my labels, I might get 12 of them to a page. Copy shops charge only a few cents per color laser printed page, so my labels were relatively inexpensive on a per-bottle basis. The glue sticks cost me $0.33 each at a local office supply store. When finished, they look pretty good. The photo above is the label I created for my Golden Dragon Ale (a Gulden Draak clone).
Update 03/05/2017: During the Christmas holiday, I found a really good deal on a Dell color laser printer from Staples. For about $100, I picked up a full-color laser printer and can now do the labels at home on my computer.
When you're ready to re-use the bottle, fill a sink or bucket with hot water. Put the bottle in the water, making sure the label is getting soaked. A few minutes later, you lift the bottle out of the water and you can pretty much wipe the label off and re-use the bottle. For some designs you might have to scrape bits of the label off with a fingernail or other object, but it's much, much easier than Avery style labels or pro brewery labels.
Comments
Post a Comment
Note that comments to this blog are moderated in order to minimize spam comments and things that might be offensive to readers.